A noise gate is a handy tool we can use to clean up our audio. It can remove or significantly lower the volume of things like breaths, papers shuffling, clothing rustling, and other sounds you don’t want in your voiceovers. I’ll explain how to use a noise gate right here.
So, how does it work?
Contents
What does a noise gate do?
Technically speaking, a noise gate is a loose term that refers to dynamics processing. When the gate senses the audio input level is lower than the threshold, it will turn off the input (or close the “gate”).
I mostly use noise gates after normalizing the audio, but before any other processing.
How do I use a gate?
Here’s a short guide on how to use an Adobe Audition noise gate:
Normalize your audio
Super simple stuff. Normalize it to -3dB so the gate has a consistent level to work with. This should always be the first step on your list!
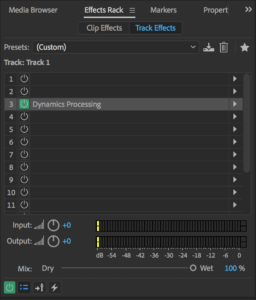
Apply dynamics processing
This is where the DAW does the heavy lifting. Put this effect on your audio track
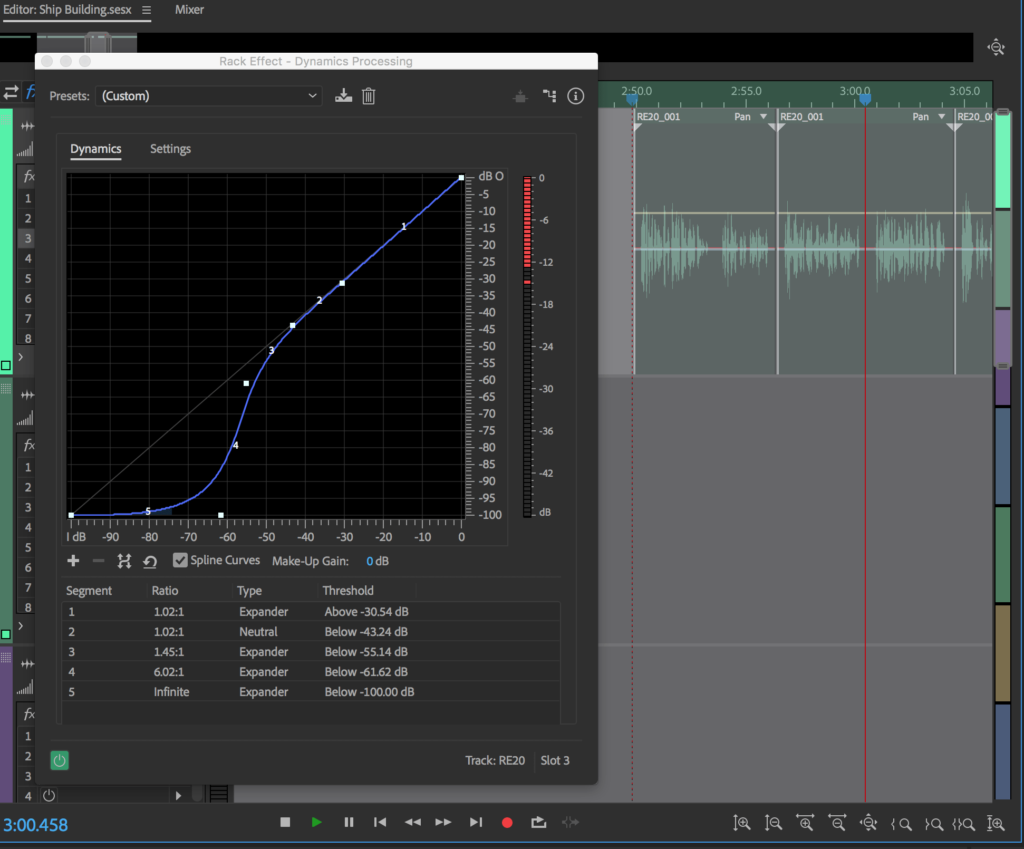
Set the curve
Depending on how much volume range your audio has, you will adjust the curve up or down along the 45 degree line. Louder audio means you can move it up, and quieter means you have to move it down so it doesn’t cut off the beginning and ends of your words.
For human voice, it sounds better to apply a curved line rather than a straight line. This will make the effect softer. You probably won’t be able to hear it right away, but if the line is rigid you’ll be able to hear a “cutting in and out” effect. Not what you want on a professional voiceover. The goal is to make this effect as transparent as possible.

Test and Refine
Especially when you first set up your noise gate, it’s important to listen to your voiceover with headphones to make sure the gate isn’t doing anything weird.
The goal is to have the gate reduce the volume of your audio only when you’re not talking.
For this project I’ve set up the gate to reduce the volume by about -12dB to -20dB.
That’s about it! Now you know how to use a noise gate! Test and experiment with noise gates to fully understand how this effect will react to your voice.
Important Notes
A noise gate isn’t guaranteed to automatically remove breaths and paper noise. You may need to adjust your breathing technique. For example, if you tend to take a breath and immediately go into the next word, this may not work for you. This is because the gate needs some breathing time of its own, so to speak, to allow time to detect the “break” in audio. You can set this time. It’s usually a few milliseconds.
Need help deciding which equipment to use to get started with voiceovers? I’ve got a beginner’s guide here.
Post your questions in the comment section!